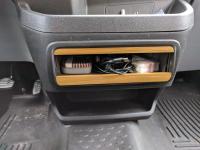
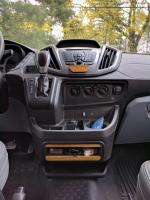
Transit console cubby details
(This is just a tiny part of our complete van buildout. A more complete overview of our conversion of our Ford Transit cargo van can be found here.)
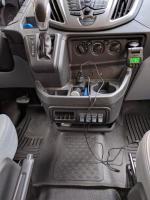
The dashboard console in the Transit wasn’t all that well thought-out by whoever designed it. The coin holder, the switches, the layout of the top shelf, are all useless, or at best, poorly designed.
We’d love to redesign the top shelf, but That’s Pretty Hard, in home
handyman terms. But replacing the coin holder and switches turns out to
be Pretty Easy. It turns out that with a sheet of 1/16” craft store
cardboard, a ruler, a few simple tools…
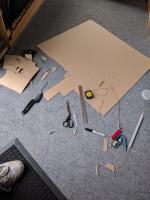 …and some patience, you can replace the coin holder and switches
with a new storage cubby. The van’s plastic is left unharmed (mostly),
and the switches and coin holder could be easily put back in place.
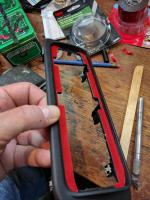
First: to remove the top of the console, just pull up, and back. Work your way around – there are probably 8 or 10 clips holding it, but it will pop off. Likewise, to remove the coin holder and switches, simply pull the outer retaining ring straight toward the back of the van. Once that comes out, the switches and coin holder can be popped out, and set aside. Our main van web page has a few pictures of the disassembled console.
So, since the fitting and measuring is the biggest pain, it made sense to create a CAD drawing to help anyone else that wants to do this.
As you look at that PDF, imagine that you’re standing in front of the van, looking rearward. This makes the left side of the PDF the passenger edge of the bin. The section of cardboard above the upper dotted line folds away from you to form the top surface of the bin, and the section below the lower dotted line folds away to form the bottom. Note that all measurements an even number of 16ths, so don’t be put off by “1.4375”, since that’s really just 1-7/16 inches. (My CAD program won’t print fractions, though it lets me enter them.) Also note that the dotted lines are score lines – i.e., run a knife along those lines without cutting through the cardboard, in order to make it bend away from you.
A bit of wire harness needed to be unclipped and shoved out of the
way, and then it’s a matter of scoring and folding.
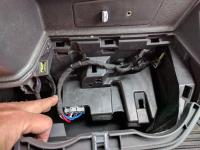
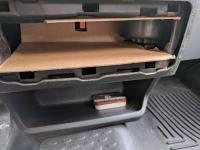
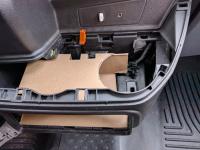
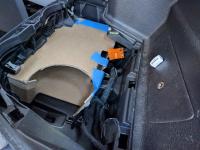
(Be sure to read this whole page before attempting to install the cardboard box – there’s one small hacksaw cut needs to be made to the van’s plastic to allow it to fit.)
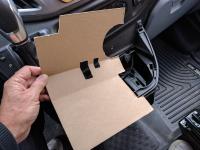
Here’s the unfolded cardboard, which includes clearance holes
for the cup holder, the 12V accessory outlet, and a post that supports
the top shelf when it’s installed.
In addition to the big cardboard piece, which comprises the top, rear
(i.e., toward the front of the van), and bottom surfaces of the cubby,
there are two small pieces needed to cover the sides. The first
sideplate is fairly large, seen here taped in place on the driver’s side
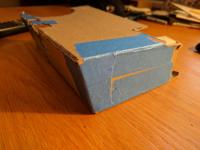
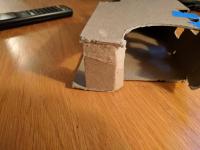
The second sideplate is smaller, because the cup holder actually closes off much of the passenger side of the cubby already. I left this untaped until after everything was in place, both to get the positioning right, and also to make the assembly more flexible when cramming it through the front opening. So this picture just shows a rough placement.
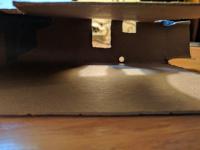
This shot of the interior shows the cutouts for the 12V socket, the angled post that helps support the console top, and also the 1/4” locator hole. That hole is positioned to line up with one of the holes in the plastic that is exposed when the wire harness clips is pulled out. A short 1/4”-20 screw screwed through the cardboard will loosely fit into the hole in the plastic, and will help keep the bin from shifting around.
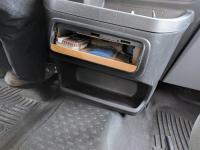
Finally, here’s a picture of the initial assembled test-fit, along
with a first cut at the wood trim that hides the mounting flanges
used by the upfitter switches and coin holder.
Once that all looks good, it was time for paint. Happened to have
some flat black on hand, so that’s what I used:
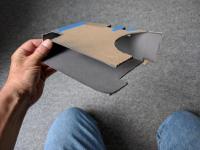
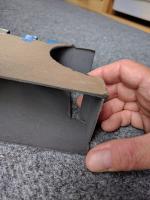
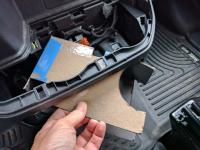
Getting the assembled box into place is a little tricky. Happily
the cardboard is a little flexible.
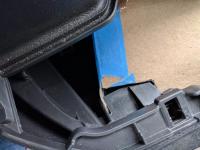
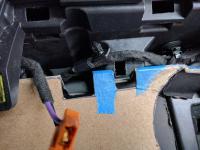
Note that the driver’s side sideplate fits into the only modification made to the van’s plastic: a couple of quick cuts with a hacksaw blade made a slot just large enough to allow the driver’s side sideplate to slip all the way to the front edge of the opening, while allowing the top of the cubby to rest on the top surface of that plastic for support.
It’s possible that the clearance openings made for the 12V outlet and
the shelf support post are too large, but I didn’t see a strong need
to adjust them.
Finally, to make it all look nice: the pieces of wood trim are both
8” long, and the four corners all have an 11/32” radius. The top
piece is just 13/32” wide, and the bottom is 5/8”. The bottom piece
could probably be 1/16” narrower, which would leave more of an opening
to the cubby while still providing a lip to keep things from falling
out. If you’re willing to trim back the faceplate plastic, I think
the frontal opening could be a bit bigger, but the cubby’s really not
that large, so it’s likely not worth it. The wood trim pieces are
held on using double-sided tape:
